After a powder day or a muddy spring ride, do piles of wet boots, bikes, and jackets overrun your entry? Life in Wilson comes with four true seasons and a lot of gear. With the right plan, you can build a gear room that keeps mess and moisture out of living spaces, dries equipment fast, and stays safe year‑round. In this guide, you’ll learn local‑ready layout ideas, drying systems, battery and fire safety, and when to pull permits. Let’s dive in.
Why Wilson homes need one
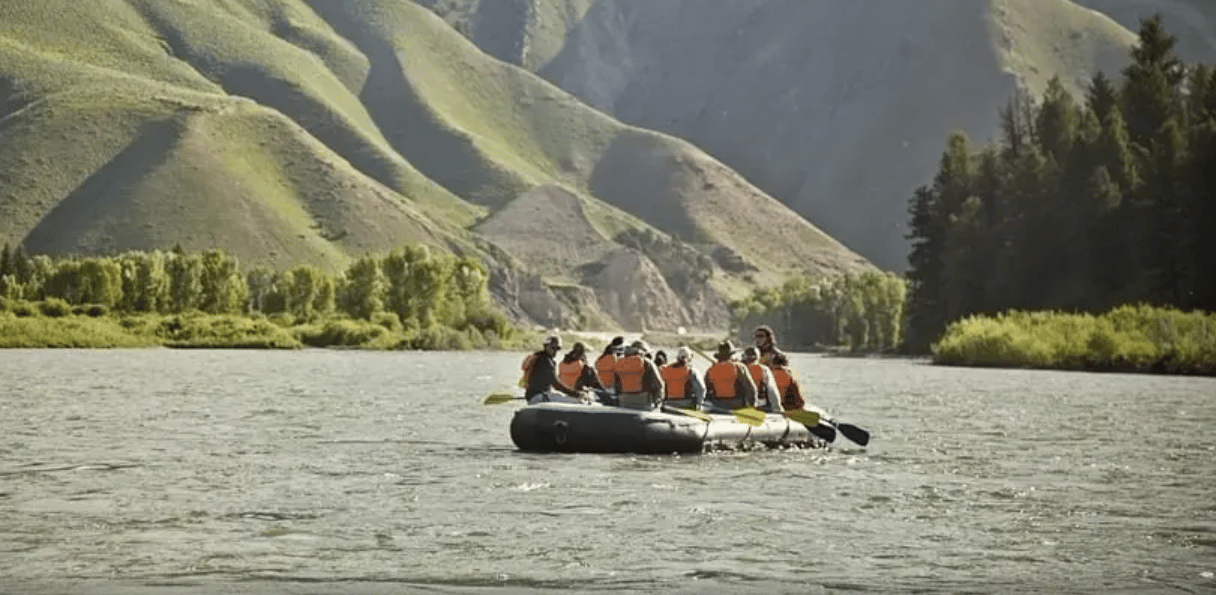
Wilson sits around 6,100 feet and sees long, snowy winters and busy shoulder seasons. That means regular freeze‑thaw cycles, heavy wet gear, and bulky storage needs. For context, the Jackson area records frequent snow events that keep gear in rotation well into spring and fall according to local snowfall data. The location and elevation also shape daily routines and storage needs in and around town as noted in the local overview.
Plan your layout in zones
A zoned layout keeps dirt and moisture from moving deeper into your home.
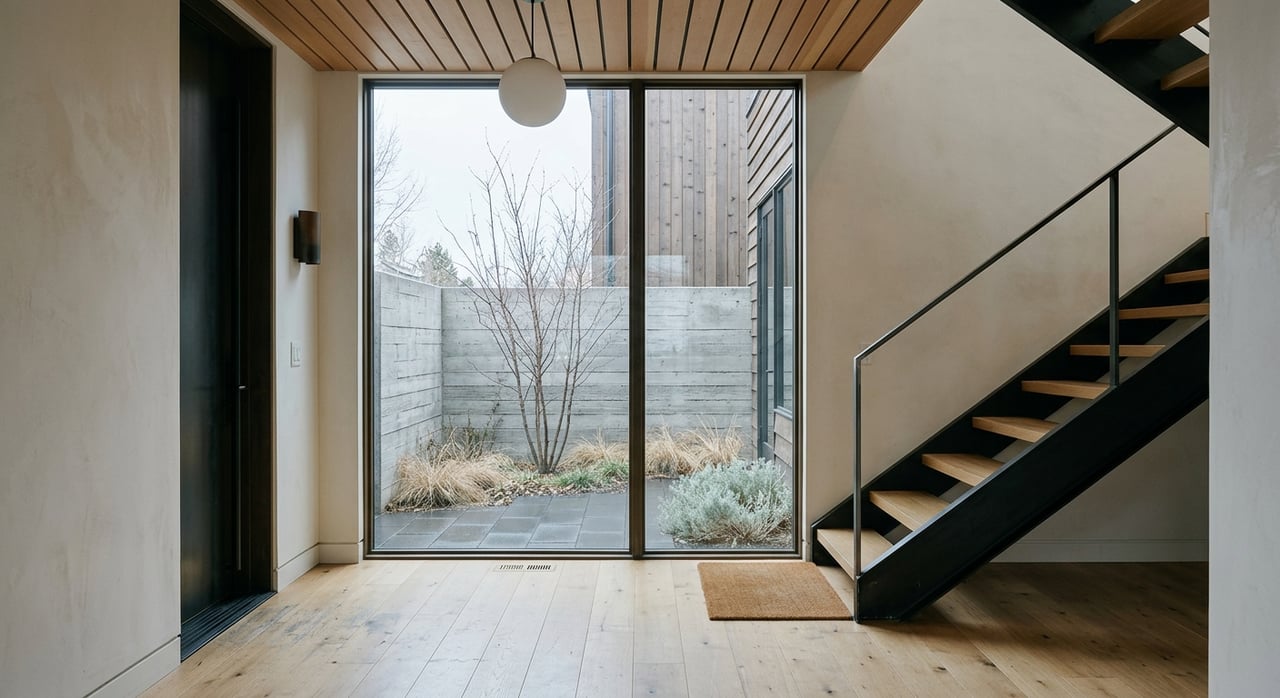
Zone 1: Wet dump zone
This is your first stop from the driveway or garage. Use a durable, non‑slip floor and add a boot tray. If possible, slope the floor toward a drain for easy wash‑downs. For built‑ins, 18‑inch‑deep cubbies and a 16 to 20‑inch‑deep bench work well for boots and seating based on practical mudroom guidance.
Zone 2: Drying and prep
Place benches for changing, wall hooks, helmet shelves, and power for boot dryers and chargers. A small tuning bench with task lighting keeps quick fixes out of your kitchen.
Zone 3: Clean storage and staging
Lockable cabinets protect expensive gear. Use ventilated doors or open cubbies so items keep drying even when stored.
Control moisture and air
Moisture builds fast in a mountain mudroom. Control it to prevent odors, damage, and mold.
- Provide mechanical exhaust that vents outdoors and follow residential ventilation best practices like those outlined in ASHRAE 62.2 industry guidance.
- Aim to keep indoor relative humidity roughly within the 30 to 50 percent range. The EPA notes that moisture control and venting wet items outdoors are key for healthy indoor air EPA guidance.
- Add active drying where you need it most. Wall‑mounted or portable boot dryers, heated shelves, or a vented laundry‑style setup speed up turnaround on heavy days.
Choose durable materials
- Floors: sealed concrete, porcelain or quarry tile, or slip‑resistant rubber in the wet zone. Transition to warmer finishes deeper inside.
- Walls: washable paint or paneling with scuff protection down low.
- Shelving: wire or slatted wood for airflow. Ventilated locker doors help gear dry when closed.
- Benches: sealed wood, stone, or metal with removable cushions you can wash.
Power, charging, and safety
Your gear room will likely need more power and better safety planning than a standard entry.
- Electrical: install GFCI‑protected outlets in wet areas and plan dedicated circuits for dryers, heated racks, and e‑bike chargers.
- Lithium batteries: charge large packs on hard, noncombustible surfaces in a ventilated spot. Use only manufacturer chargers, avoid unattended overnight charging, and consider a ventilated garage or cabinet for frequent charging NFPA/UL tips summarized here.
- Fuels: if you keep small fuel cans for sleds or tools, use approved containers and consult local codes. Detached or ventilated garage storage is often preferred. When in doubt, ask before you store.
- Detection: place smoke and carbon monoxide alarms nearby and keep a fire extinguisher within easy reach.
Store gear the smart way
Skis and boards
Use wall racks for in‑season access. For off‑season, clean and dry gear, apply storage wax, and keep skis in a cool, interior closet rather than a hot garage ski storage guidance.
Boots and footwear
Set up boot cubbies with trays or drainage. Dry liners fully before long storage to prevent odors and breakdown.
Avalanche and backcountry kits
Create a ready‑to‑go shelf for beacon, probe, and shovel. Check your transceiver regularly and remove batteries for long‑term storage per manufacturer guidance beacon guidance. For local education and refreshers, see the Bridger‑Teton Avalanche Center’s training resources regional education.
Bikes and e‑bikes
Use wall or ceiling racks to save floor space. Keep a specific, ventilated charging area for e‑bike batteries and follow the safety points above.
Summer gear
Hang waders to drip into a tray, and store tents and sleeping bags dry in ventilated bins.
Quick-start checklist
- Direct entry from outside or the garage on a durable floor surface mudroom basics
- Wet zone with boot tray and easy‑clean flooring; add a floor drain if feasible
- Ventilated cubbies or lockers about 18 inches deep for fast drying
- Mechanical exhaust that vents outside and a dehumidifier if the house is tight ventilation guidance
- Dedicated drying solutions sized to your household
- Small tuning bench with a grounded outlet
- Safe e‑bike battery charging plan in a ventilated spot battery safety overview
- Avalanche‑gear shelf with a regular beacon check routine manufacturer tips
- Fire safety: extinguisher, detectors, and compliant storage for any fuels
- Space for seasonal rotation with wall racks and interior off‑season storage ski storage tips
Seasonal routines that work
- After a wet day: drop boots on trays, move them to dryers, hang shells with space between items, and run the exhaust fan for 15 to 30 minutes. Keeping humidity in range protects your home and gear EPA moisture guidance.
- End of ski season: clean bases, apply storage wax, dry and loosely buckle boots, and store skis in a cool interior closet ski care tips.
Permits and local help
If you plan to add a floor drain, new circuits, or ventilation, check with Teton County’s Building Division about permits and inspections Teton County Building Division. For avalanche education and local classes, the Bridger‑Teton Avalanche Center maintains regional resources BTAC education. Hire licensed electricians and HVAC pros to install dedicated circuits and exhaust correctly.
Ready to upgrade your Wilson home?
A well‑designed gear room protects your home, extends the life of your equipment, and makes every season easier. If you are planning updates or exploring homes with mudroom potential, reach out to Jennifer Reichert for local guidance tailored to your lifestyle and goals.
FAQs
Do Wilson homes really need mechanical ventilation in gear rooms?
- Yes. A dedicated exhaust that vents outdoors helps remove moisture quickly and supports healthy indoor air, especially with frequent wet gear.
What size should mudroom cubbies and benches be?
- A good starting point is about 18 inches deep for cubbies and 16 to 20 inches deep for benches, with open or ventilated fronts to promote drying.
Is it safe to charge e‑bike batteries inside a mudroom?
- It can be if you follow safety basics: use the manufacturer’s charger, charge on a noncombustible surface in a ventilated spot, and avoid unattended overnight charging.
Do I need a floor drain in Wilson?
- You do not need one, but a drain makes cleanup easier if you hose off gear often. Drains require plumbing and usually a permit, so check with the county first.
How should I store avalanche gear at home?
- Keep a ready‑to‑go shelf for beacon, probe, and shovel, perform regular checks, and remove batteries for long‑term storage as the manufacturer recommends.